It can be quicker and easier to create a new user by copying an existing one, and customising it to suit the new user's needs. This is particularly useful if you need to create multiple users who will be using Compleat in a similar way, and will therefore have similar settings.
To create a new user from an existing one, follow the steps in this guide.
1. Copy a user
It only takes a couple of steps to copy a user record.
Here's how.
- In Admin Home, go to Security and click User Account.
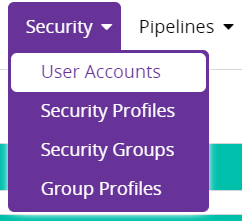
- Click the user you want to copy.

- In the bottom-left, click Copy User.

- Enter a User Name for the new user, and click OK.
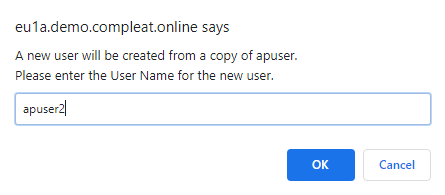
- The new user is created!
You can now see them in your list of users.

2. Add the new user's general details
You need to add a few basic details to create your new user's account, like their name, email address, and job title.
- In your list of users, click the new user.
- When the new user's account details appear, click the General Details tab.
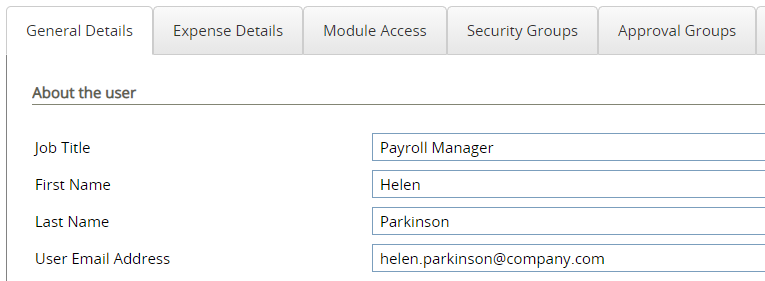
- Amend or enter the following fields: Job title (if required), First name, Last name, User email address, Telephone number (if required), and User password (change to a password that you can give to the new user).
- Next to User Account Enabled, tick the checkbox.

- Check the user has the right Group Profile, and select the correct one from the drop-down if not.

- Go the the Advanced Settings tab.

- Next to User must change their password on next login, tick the checkbox.
This means the new user will be prompted to create a password the first time they log into Compleat.

-
In the bottom-right, click Save user.

3. Additional configuration for approvers
A newly copied user isn't part of any approval groups yet, so if they're going to be an approver you need to add them to the right approval groups.
To add the new user to an approval group, follow these steps.
- Go to Approval, and click Approval Groups.
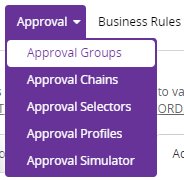
- Click the approval group to add the new user to.
- In the top-right, click Add or Remove Users.

- Click and drag the new user from the list on the left into box on the right and click OK.
- Click Save approval group.

- Nicely done!
Your new user is now in the correct approval group, and can begin approving transactions right away.
4. Additional configuration for Dashboards
If the new user needs access to dashboards, you need to add them to the relevant Dashboard Access Groups. Before you start, make sure you can remember the Group Profile that your new user is in because you may need it to configure their Dashboards access.
To configure the new user's access to Dashboards, follow these steps.
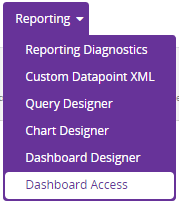
- Go to Reporting, and click Dashboard Access.
- Click the access group the user needs to be part of.
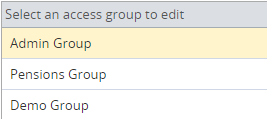
- The Access group memebership list on the right displays the group's current members. Members can be users and/or group profiles.
If the new user's Group Profile is already in the list, you don't need to take any action.
If their Group Profile isn't in the list, you need to either add the user, or their Group Profile, to the access group.
Beside the Access group membership list, click Add/Change.

- To just add the user to the access group, drag them from the box in the top-left to the box in the top-right.
To add the Group Profile that the user is in, drag the Group Profile from the box in the bottom-left to box list in the bottom-right.
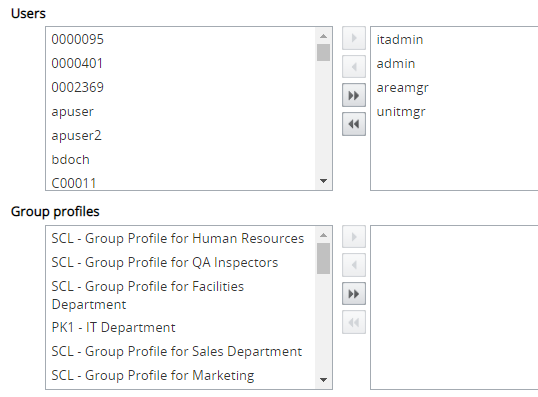
- Click OK.

- The user now has access to the right Dashboards.
Nice work!
You just successfull copied an existing user and customised the new profile to suit a new user's requirements in Compleat.